
So proud to have been this young man’s teacher! Nice work, Josiah.
Back to School
Enormous arctic vortex
Seemed you’d never go away
Now our break is through
Filed under writing
Egg-less Banana Bread
First, if you’ve never been to this blog before, let me make one thing perfectly clear. I am not a vegan or a vegetarian. I eat eggs. I raise chickens just so that I can have good, quality eggs at my disposal. However, we’re smack in the middle of winter. Even worse, we’re smack in the middle of some awful polar vortex that made its way here from the Arctic and won’t leave. If you’re not familiar with chickens, you probably don’t know that when the daylight starts to wane, so does their egg production. Add to that the fact the we’re down to three hens and Luna’s production has slowed anyway as she reaches her fourth spring. We haven’t had an egg here since October!!
So, I’ve been forced to go to the co-op or farmers’ market to keep eggs in the house. Which is fine, but um, we’re trying not to spend all our money on groceries and egg and sausage biscuit sandwiches are on this week’s dinner menu and I didn’t want to use them all up and have to buy more.
 So, the bunch of bananas getting browner by the day was screaming at me. I could have peeled the bananas and put them into one of the freezers, but I’m trying to empty them enough to make space for the hog we’re getting from Quartz Farm as soon as he’s big enough.
Banana bread is the best way I know to use up sad, old bananas. All my recipes called for eggs. I Googled egg-less banana bread and got 2 or 3 different recipes that were all basically the same. I then searched for egg substitutes. My search returned the usual, “applesauce, banana, flax seed or oil”.
I ran through the options in my mind and decided against all of them because: I’m already putting 6 bananas in the recipe, I don’t think I should substitute one for the eggs; banana bread already has a lot of butter or oil, so I didn’t want to add any more; all my applesauce is flavored and I don’t want to add any more fruit to my bread; and finally, I don’t have any flax seed. But, there was another egg substitute that intrigued me, for each egg, mix:
2 tablespoons water
1 teaspoon oil
2 teaspoons baking powder
I have oil, water and baking powder in my house, so I decided to give it a go.
Banana bread recipes are essentially the same. Oh, of course you can add chocolate chips, or sprinkle some sort of topping on your loaves but they all boil down to the same thing. Bananas, flour, sugar and a few other key ingredients in similar proportions across the board. Well, except for that whole egg thing.
Have I mentioned that I’m a math geek? Sometimes when I can’t decide on which recipe to use, I like to play the game of averages. Do you remember averages from school? Or maybe, like me, you actually still use them in your adult life? Add up the values of a given thing and then divide by the number of given things you started with. It’s pretty easy actually, but the nerd in me loves it.
(If you’re screaming in your head, “Just get to the recipe already!” Click here for a printable version or scroll down to the pictures and please accept my apology for rambling.)
I start with a table. I list all the ingredients down the side and then across the rows I write in the volume of that ingredient in the various recipes. Once the table is complete, I calculate the average amount of each ingredient, round it to the nearest measurable amount and then use that number as the amount in my recipe.
For example, sugar. I had six recipes. The sugar called for in those six recipes was: 1 cup, 1 cup, 1 cup, 2/3 cup, 3/4 cup and 2/3 cup. I added all the sugar amounts together and divided by six to get 0.74 cups and then rounded it up to 3/4. Sound tedious? It actually brings me a great deal of joy that I can’t quite explain. Oooh! Oooh! Plus, I doubled the recipe; more math!
When I was all done with the math for my recipe, I added in a few ingredients of my own. One of my original recipes called for milk, one for sour cream, and one for cream cheese. When those ingredients were averaged in, they didn’t account for much of the total recipe, so they weren’t included. Except, I happened to have a half a container of sour cream in the fridge. I myself am not a fan of sour cream, but I needed it for a recipe so I decided to go ahead and add sour cream after all so that I could use it up before it spoiled. And, I added WAY more vanilla than the averages called for. Plus, cinnamon. It wasn’t in any of the recipes and I just felt like putting it in.
The batter was really thick and I thought I was going to end up with a dry bread (which I hate) but I’m quite pleased with how the loaf came out. It was very moist, had a nice flavor and if I have sour cream in the refrigerator again I could probably be persuaded to make another batch.
When everything was said and done, I ended up with this:
To make Egg-less Banana bread,
preheat your oven to 350°.
Add butter and brown sugar to the mixing bowl.

Cream butter and sugar together.
Add one egg or one “egg”.

2 T. water
1 t. oil
2 t. baking powder mixed together
Mix well and add sour cream and vanilla. Mix until combined and add bananas. My math said 5 1/2 but I had 6 so I used all of them. I also didn’t mash the bananas before I put them in; I broke chunks off into the mixer and then just beat the snot out of them until they looked like this.
Measure the dry ingredients into a separate bowl or 1 quart measuring cup.
Add the dry ingredients to the wet ingredients in stages, mixing after each addition.
Grease a 9″ x 13″ baking dish or two loaf pans. Spread the batter into your pan(s) and bake at 350° for 45-55 minutes. Bread is finished when toothpick inserted in the center comes out clean.
Click here for printable version.
Egg-less Banana Bread
Makes 2 loaves or a 9” x 13” pan
Preheat oven to 350°
-
1 cup butter
-
1 ½ cup brown sugar
-
1 “egg” ~ whisk together:
-
2 T. water
-
1 t. oil
-
2 t. baking powder
-
-
1 cup sour cream
-
1 t. vanilla
-
6 bananas, mashed
-
3 1/3 cup flour
-
1 t. baking powder
-
1 t. baking soda
-
1/3 t. salt
-
1 T. cinnamon
Cream butter and sugar. Add egg substitute or egg. Mix well. Add sour cream and vanilla and blend again. Add bananas and mix well.
In a separate container combine dry ingredients. Add a little at a time, mixing after each addition.
Grease a 9” x 13” casserole or two loaf pans.
Pour batter into pan(s). Batter will be quite thick and may require spreading with a spatula.
Bake in 350° oven 45-55 minutes.
Bread is finished when toothpick inserted in center comes out clean.
Filed under food
Cinnamon Caramel Monkey Bread
There’s a little restaurant in town that serves monkey bread and my family loves the stuff!
 I’ve noticed a lot of recipes on the internet lately for the pull-apart cinnamon bread many people call monkey bread. Apple Monkey Bread, Blueberry Monkey Bread, even Crock Pot Monkey Bread. With all the buzz, I decided to give it a try.
Before I started, I looked at a lot of recipes. Like this one for Crock Pot, Apple Monkey Bread. This was the leading contender, but I decided I didn’t want to wait 2 1/2 hours for it to cook. So, I looked around some more and found these oven-baked recipes for Blueberry Monkey Bread and Cinnamon Pull-Apart Bread. I was leaning toward the Cinnamon Pull-Apart bread, but didn’t want to make actual bread before starting the recipe. For a minute I contemplated using the dough I had in the refrigerator, but wasn’t sure how the 5-minutes dough would hold up. The dough is pretty thin and I didn’t think it would hold its shape.
The other two recipes call for canned biscuits. I neither had nor cared to purchase any canned biscuits to make my bread, so I decided to whip up some biscuit dough to use. My biscuit recipe only makes 10 biscuits, so I had to double it to make sure I had enough biscuits to fill my chosen pan.
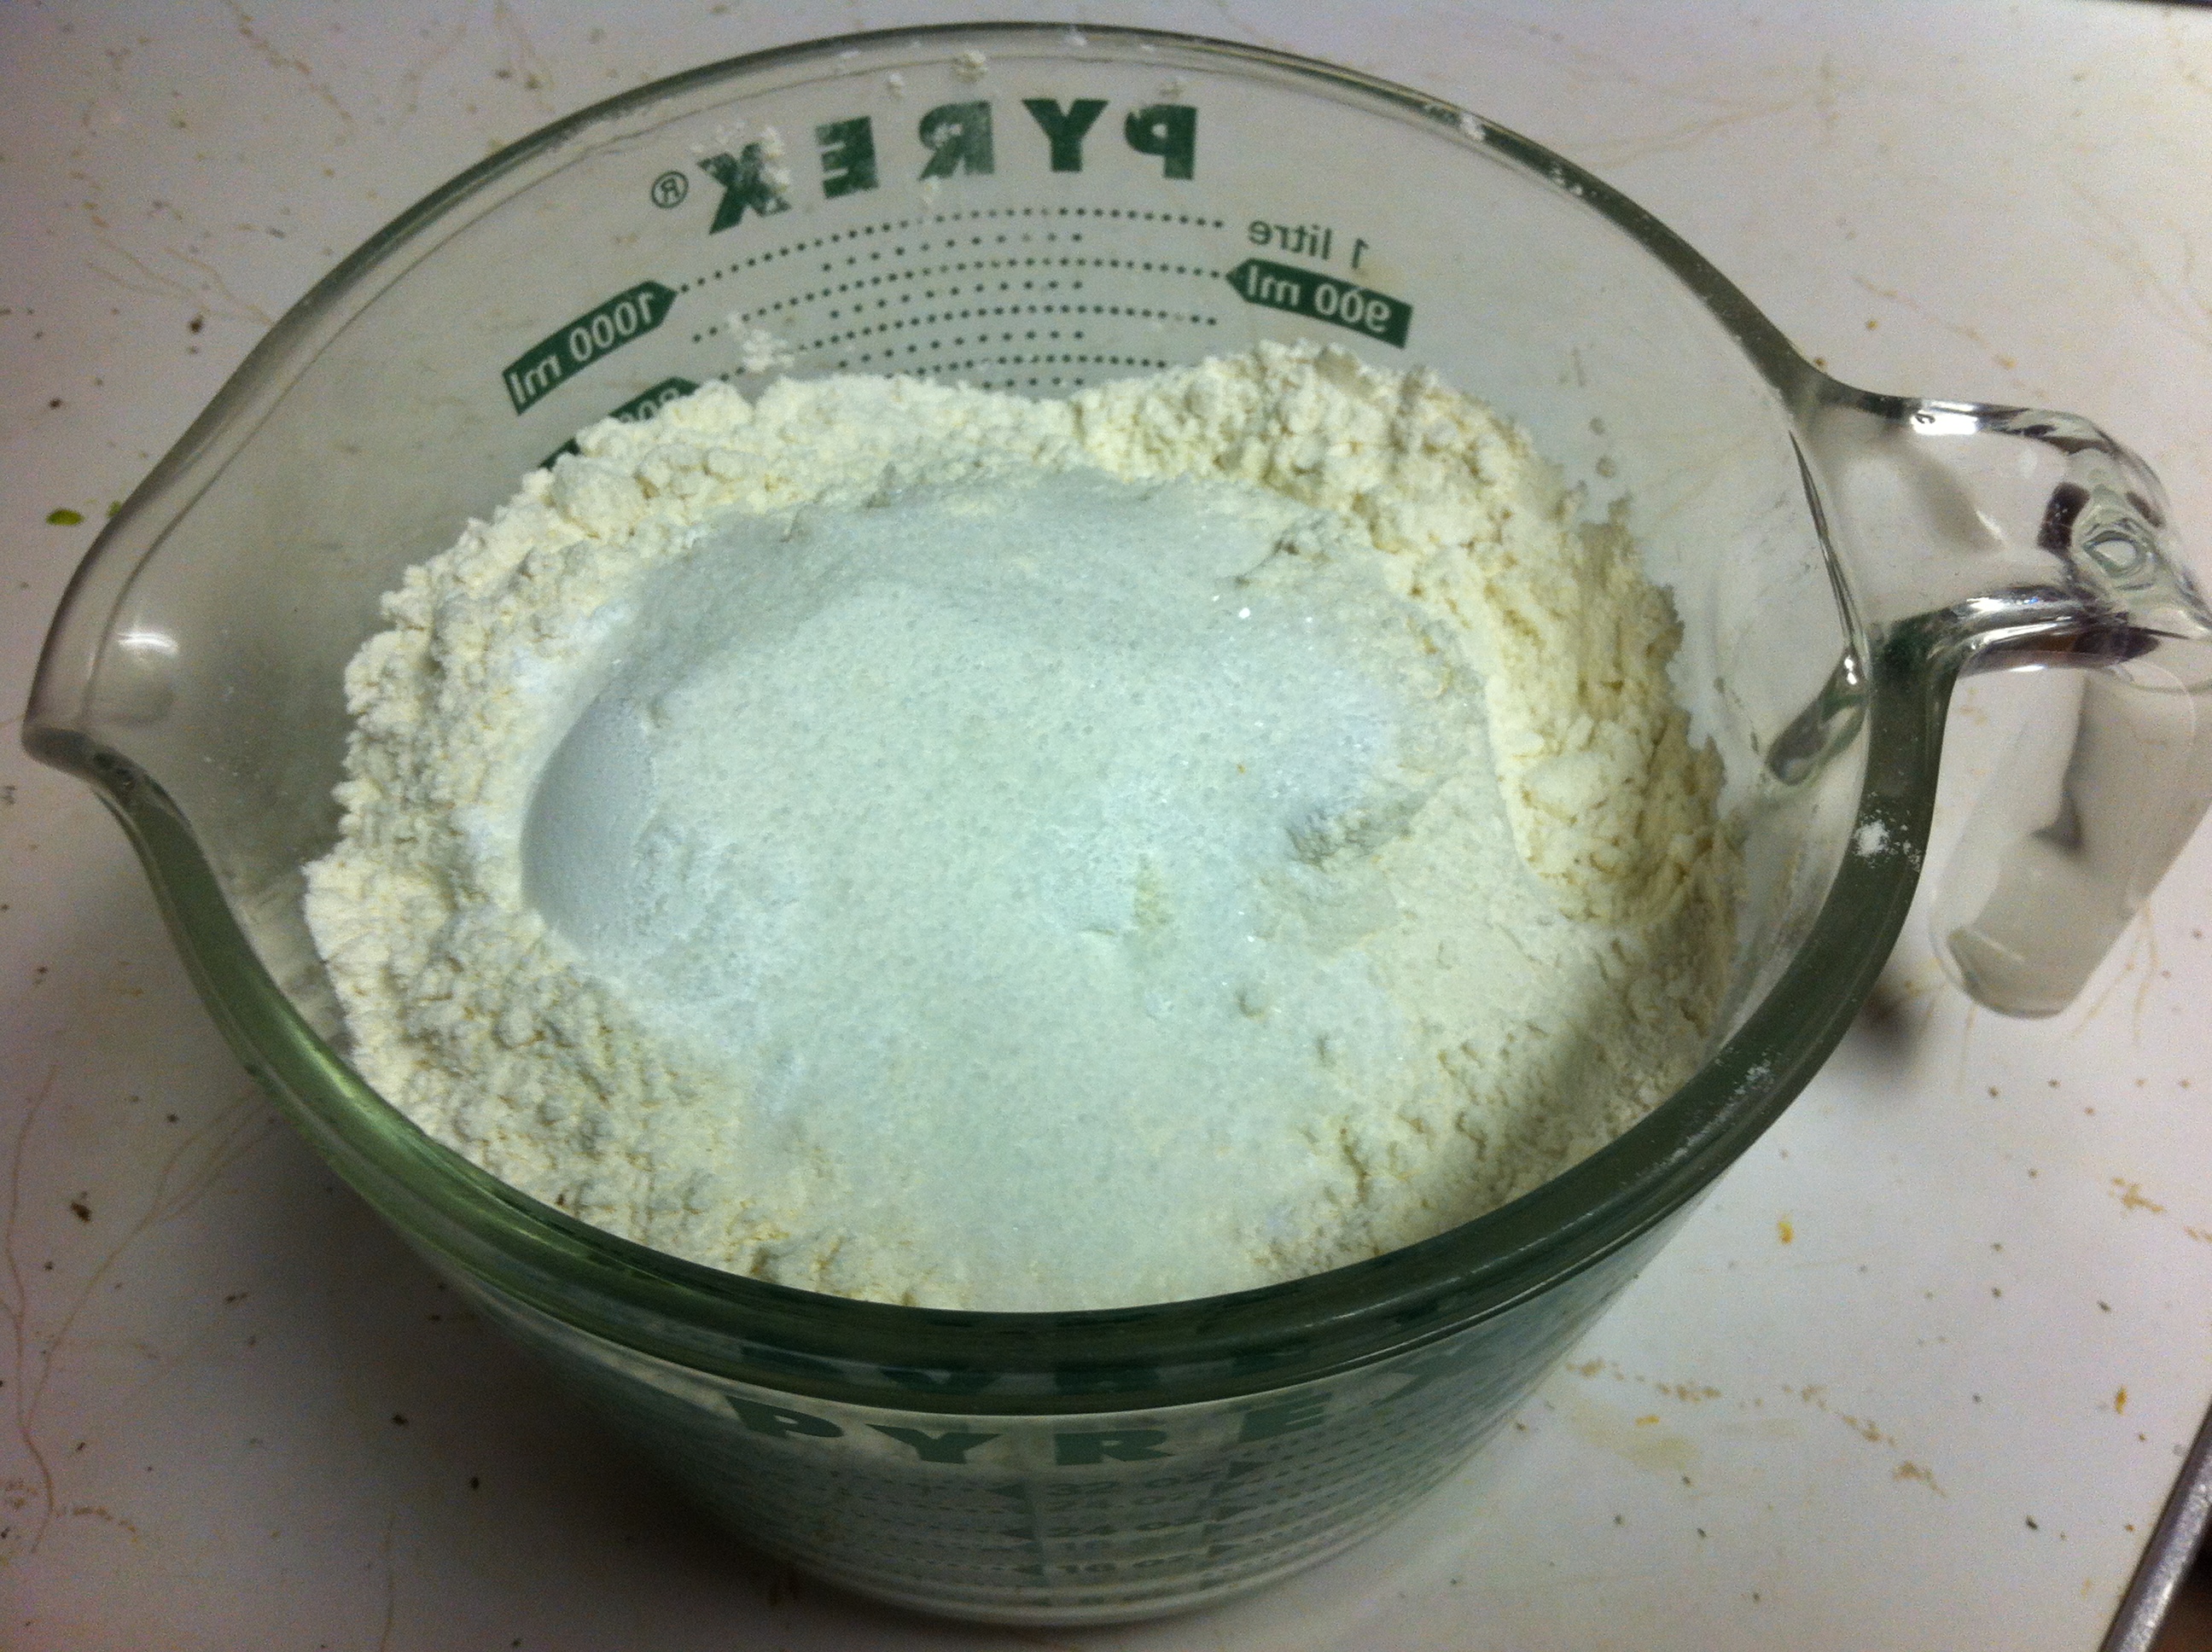 Start by combining flour, baking powder, sugar, cream of tartar and salt. I measured the flour into this measuring cup and then just added the remaining ingredients on top before dumping the whole mess into my mixer bowl.
 Cut the butter into chunks and add to dry ingredients.
 “Cut” the butter into the dry ingredients until the mixture resembles coarse crumbs. You can do this by hand with a pastry cutter, a whisk or even a fork. I opted to use the whisk attachment on my Kitchen Aid mixer. ‘Cause I love it.
 Make a well in the dry ingredients and add the milk all at once. I used unsweetened almond.
 Using a wooden spoon, mix the wet ingredients until just blended. I used the paddle attachment on my mixer.
 Knead the dough 10-12 times on a lightly floured surface and then flatten it out. If you were making biscuits, you could roll them out to a half an inch and then cut them, but since I was just going to make balls of dough I opted to just pinch off balls of dough that were about 1″.
Grease a baking dish. I would recommend a 9″ x 13″ pan, but I actually used a deep, 4″ x 8″ pan.
 In a microwave-safe bowl, combine sugar, brown sugar, cinnamon and ginger. Mix together and sprinkle two-ish tablespoons into the bottom of the greased baking dish. Pull or cut balls of dough from your flattened biscuits, roll them in the sugar mixture and spread them out into the baking dish. When you are finished rolling all the biscuit pieces in sugar, there will probably be a little left. I left it in the bowl and added the butter and cider to the bowl.
 Microwave the bowl until the butter is melted. Remove the bowl from the microwave and add the caramel vodka. The little bit of alcohol in this small amount of vodka will cook out, but if you don’t like cooking with alcohol or don’t have any flavored vodka, you can use vanilla instead. Stir to combine and drizzle the liquid mixture over the pan of cinnamon-sugar covered dough balls.
 Place the pan in a preheated 350 degree oven for 30-40 minutes. Because I used a deeper dish, my bread took the whole 40 minutes to finish.

Fresh from the oven!
Cinnamon Caramel Monkey Bread
Biscuits
- 4 cups flour
- 2 T. baking powder
- 1 T. sugar
- 1 t. cream of tartar
- 1/2 t. salt
- 1 cup (2 sticks) butter
- 1 1/2 cup milk
Topping
- 2/3 cup brown sugar
- 1/3 cup sugar
- 1 T. cinnamon
- 1 pinch ground ginger
- 1/4 cup (1/2 stick) butter
- 1/6 cup apple cider
- 1 T. caramel kissed vodka (or vanilla if you prefer)
In a bowl stir together flour, baking powder, sugar, cream of tartar and salt.
I used the whisk on my Kitchen Aid mixer to cut the butter into the dry ingredients, but you can do it by hand with a whisk or dough cutter until the mixture resembles coarse crumbs.
Make a well in the center of the dry ingredients. Add milk all at once. With a spoon (or the paddle attachment of your mixer), stir just until the ingredients are blended.
On a lightly floured surface, knead the dough 10-12 times and pat it flat.
Filed under food
01001110 01100101 01110111 00100000 01011001 01100101 01100001 01110010 00100000 01001110 01100101 01110111 00100000 01011001 01101111 01110101 00111111
A few months ago, my father texted me and told me that there was a particular company that wanted to hire me. I was perplexed because I already have a job career that I really love. I thought maybe he had spoken to someone at the company and maybe there was some real interest in ME for whatever reason, so I asked him why they wanted me. His answer was flattering, but came directly from the job posting. He told me,
They’re looking for the “greatest mind in technology”, and that’s you.
I was intrigued, so I checked out the posting online. The job was an IT position for a growing local company. I love their products and I know others that work for them. The job would allow me the flexibility to work partially from home and to work with a great group of people who truly love what they do. “Maybe it’s really time for a change.” I thought to myself. After all, the stress of being an educator in the current political climate of Michigan has been overwhelming. More than once in the past couple years I’ve discussed with Mr. Hippie, a colleague, or just a friend the possibility of doing something less stressful, less heartbreaking and probably more lucrative.
I continued through the job posting. As in most job postings, there were many skills that candidates should have. I looked through the list and was surprised that most were things I had experience in. Unfortunately, there were several that I didn’t and couldn’t fake my way through even if I tried. So, I gave up the idea of a career change.
But I didn’t. The idea has lingered with me ever since. I’ve talked to the friends that work at the company about the job. It’s since been filled, but could become available again. Even if it doesn’t, similar jobs are available all the time in other great companies. So, I researched the skills that were missing from my resume. They would take some time to learn, but it wouldn’t be impossible. So, I started teaching myself code. Simple code, but code nonetheless. I started at Khan Academy and in the process got addicted to their “World of Math”. I stayed up most of Thanksgiving night solving complex math problems I haven’t seen since college and still stop and do math almost every day for a few minutes. It keeps my brain young, right?
 But I digress. Code. Kids can learn it. I want to learn it. I need to learn it. Even if I don’t take a technology job, it intrigues me and opens doors that for now, are closed. Khan is a start, but I’ll need to know more.
And then.
My friend Liz posted this link to FaceBook: Harvard edx. I followed it. I signed up. And now, I’m really going to learn code.
Filed under Uncategorized
Hoppin’ John?
This all started with this:

Thirty-nine Cents?!?
Mr. Hippie and I were doing the shopping last week. As usual, we stopped by the bargain bin to see if anything interested us. Usually, there isn’t much but some banged cans or some really old, unpopular merchandise. Imagine my surprise when I found it chock-full of these cans of ORGANIC soybeans for only thirty-nine cents!
Since Gwen is a vegetarian, this could be a major score. But, I’ve never cooked with canned soybeans before so I didn’t want to overreach and buy up the cart. I bought a few cans so that I could experiment with them and make sure we would eat them. A deal is only a good deal if you’ll actually use it!
When I started researching recipes for soybeans, I didn’t come up with much so I decided to just substitute them for other beans in recipes. Hoppin’ John is a traditional New Year’s dish made with black-eyed peas, vegetables and ham and is usually served over rice. Of course, Gwen won’t eat ham, so I had to modify more than the beans to make this dish family-friendly.
Start by adding about a tablespoon of olive oil to a heavy bottomed-pan or dutch oven. Once the oil is hot, add the chopped vegetables.
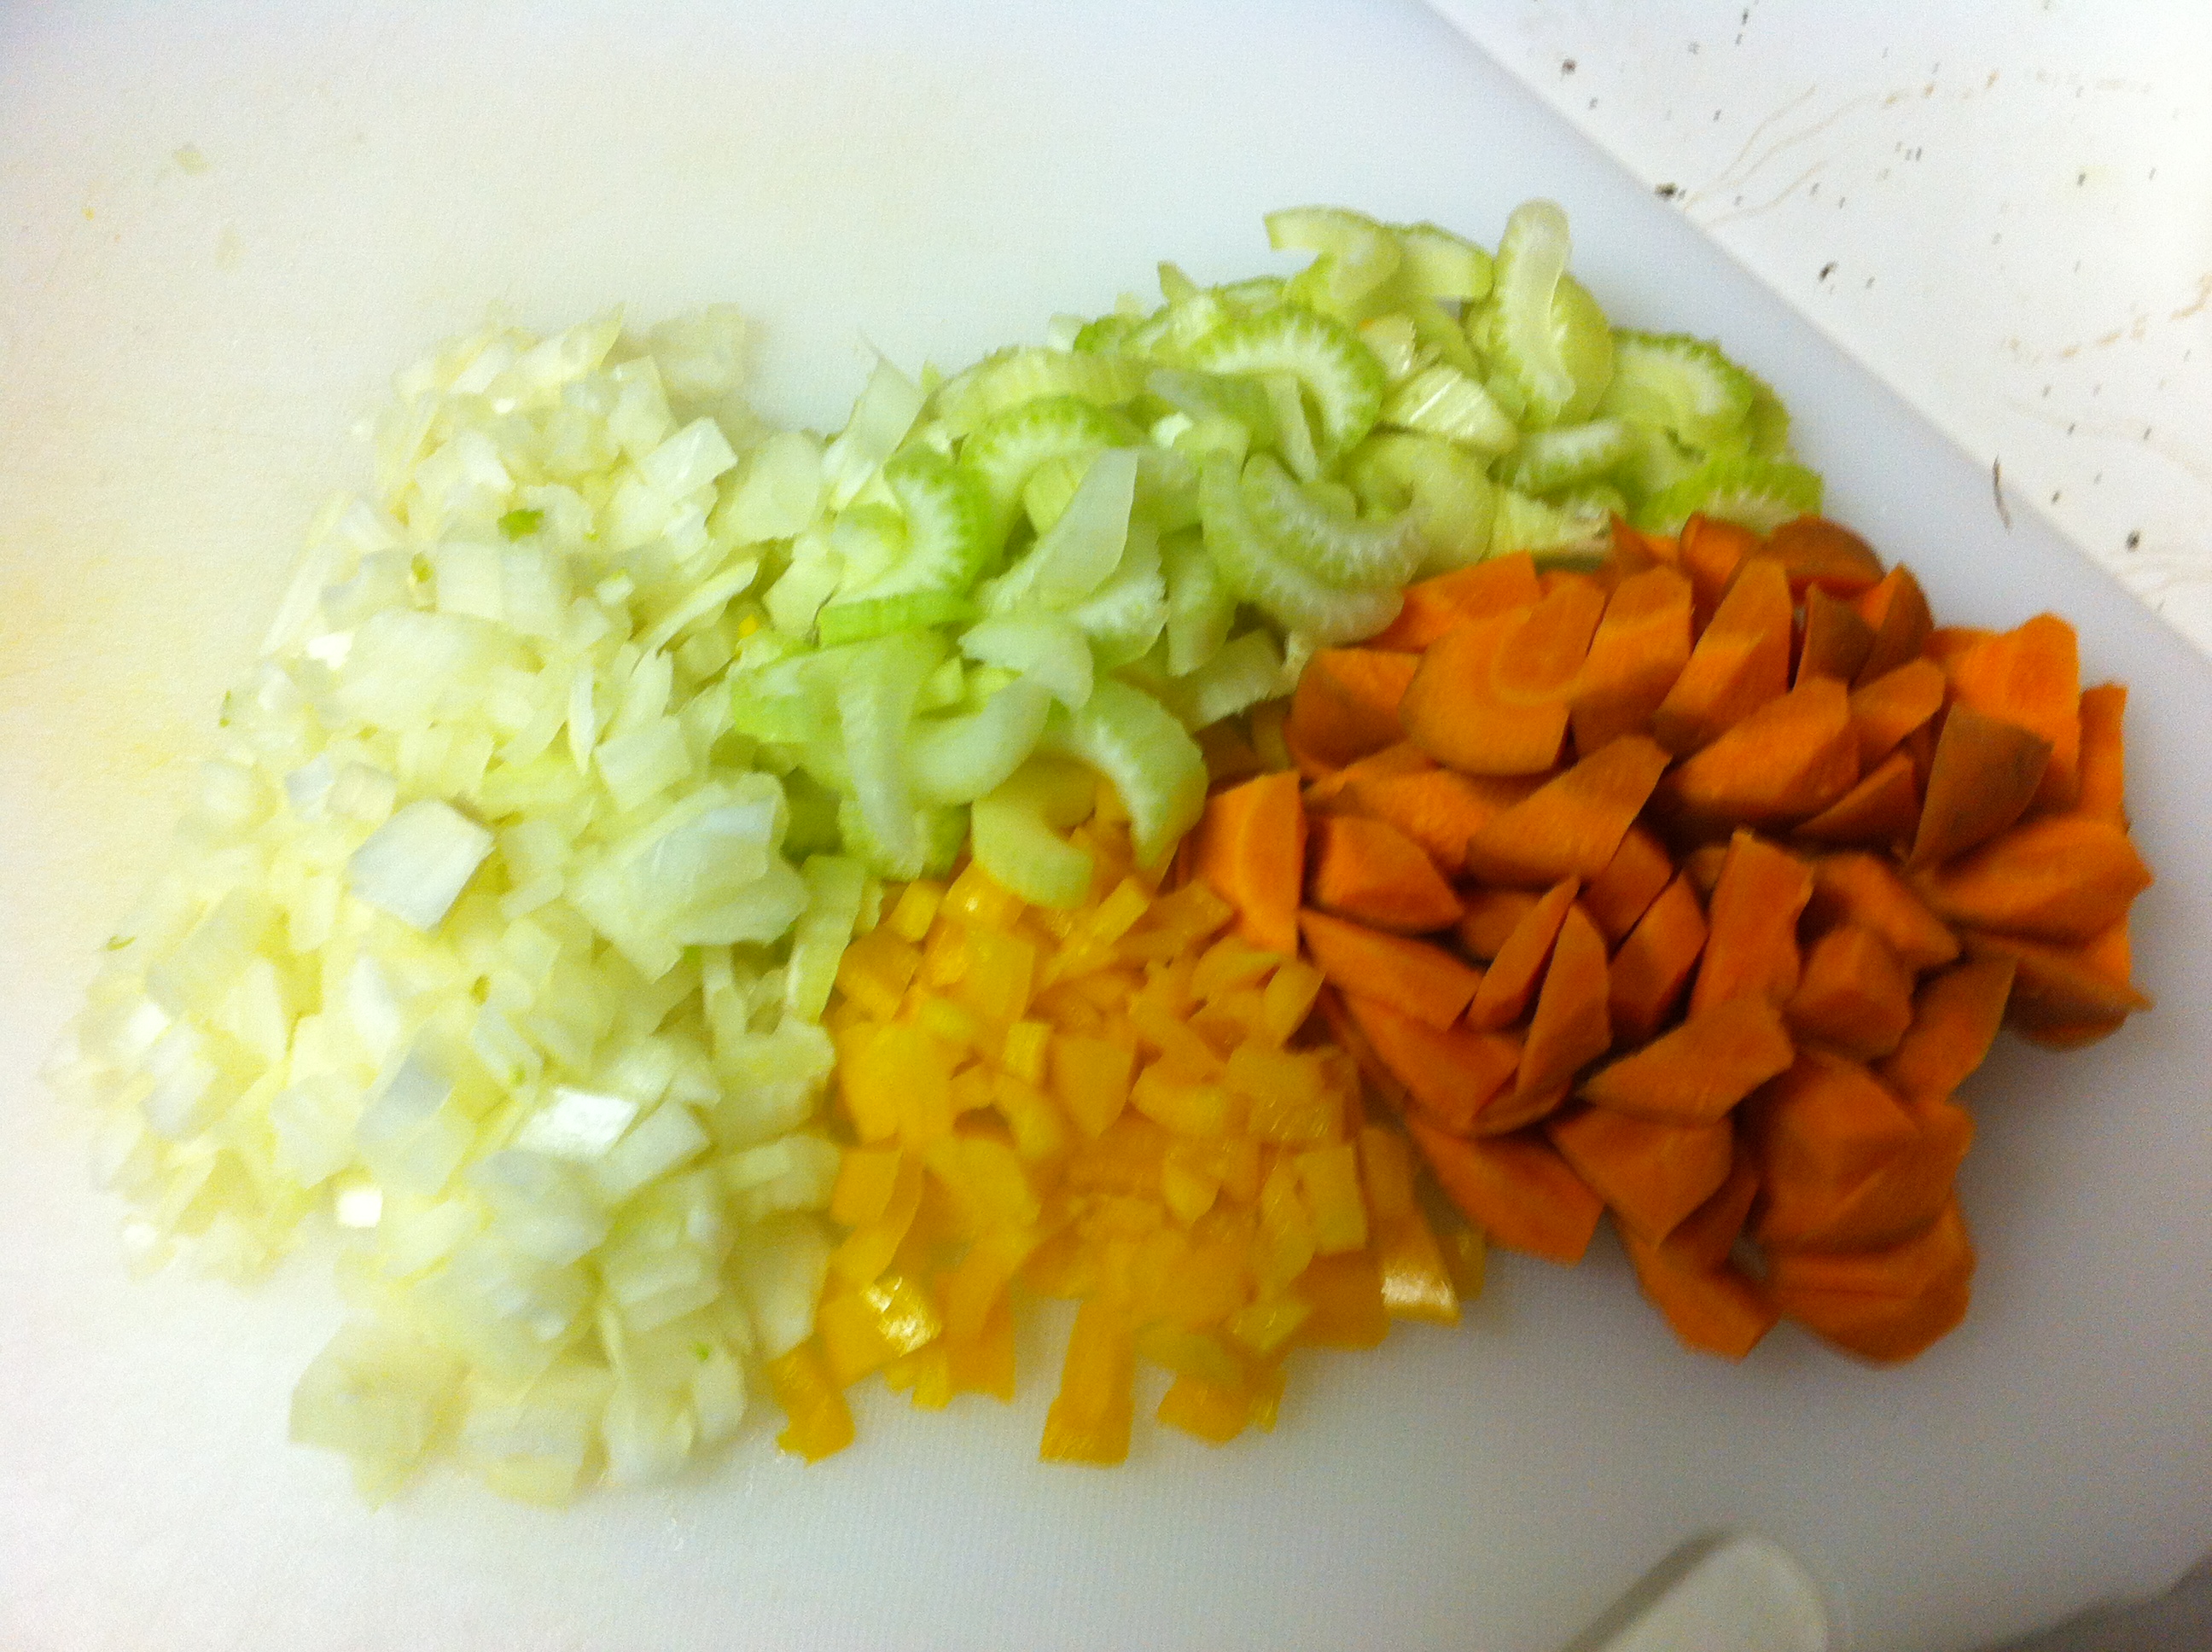
Celery, carrots, peppers and onion chopped and ready to cook.
Simmer the vegetables over medium heat until the onions begin to sweat. Add garlic and stir for a few more minutes.

Mmm. Garlic
Chop a jalapeno finely and add it to the vegetable mix. Mine are all red because I picked them from the garden so long ago.

Red Jalapeno
Stir the jalapeno around for a minute and add a quart of chopped, canned tomatoes. Cook the mixture until the tomato juices simmer down and begins to thicken.

Simmah down now!
Sprinkle the blend liberally with Rustic Rub and cook for a few more minutes.
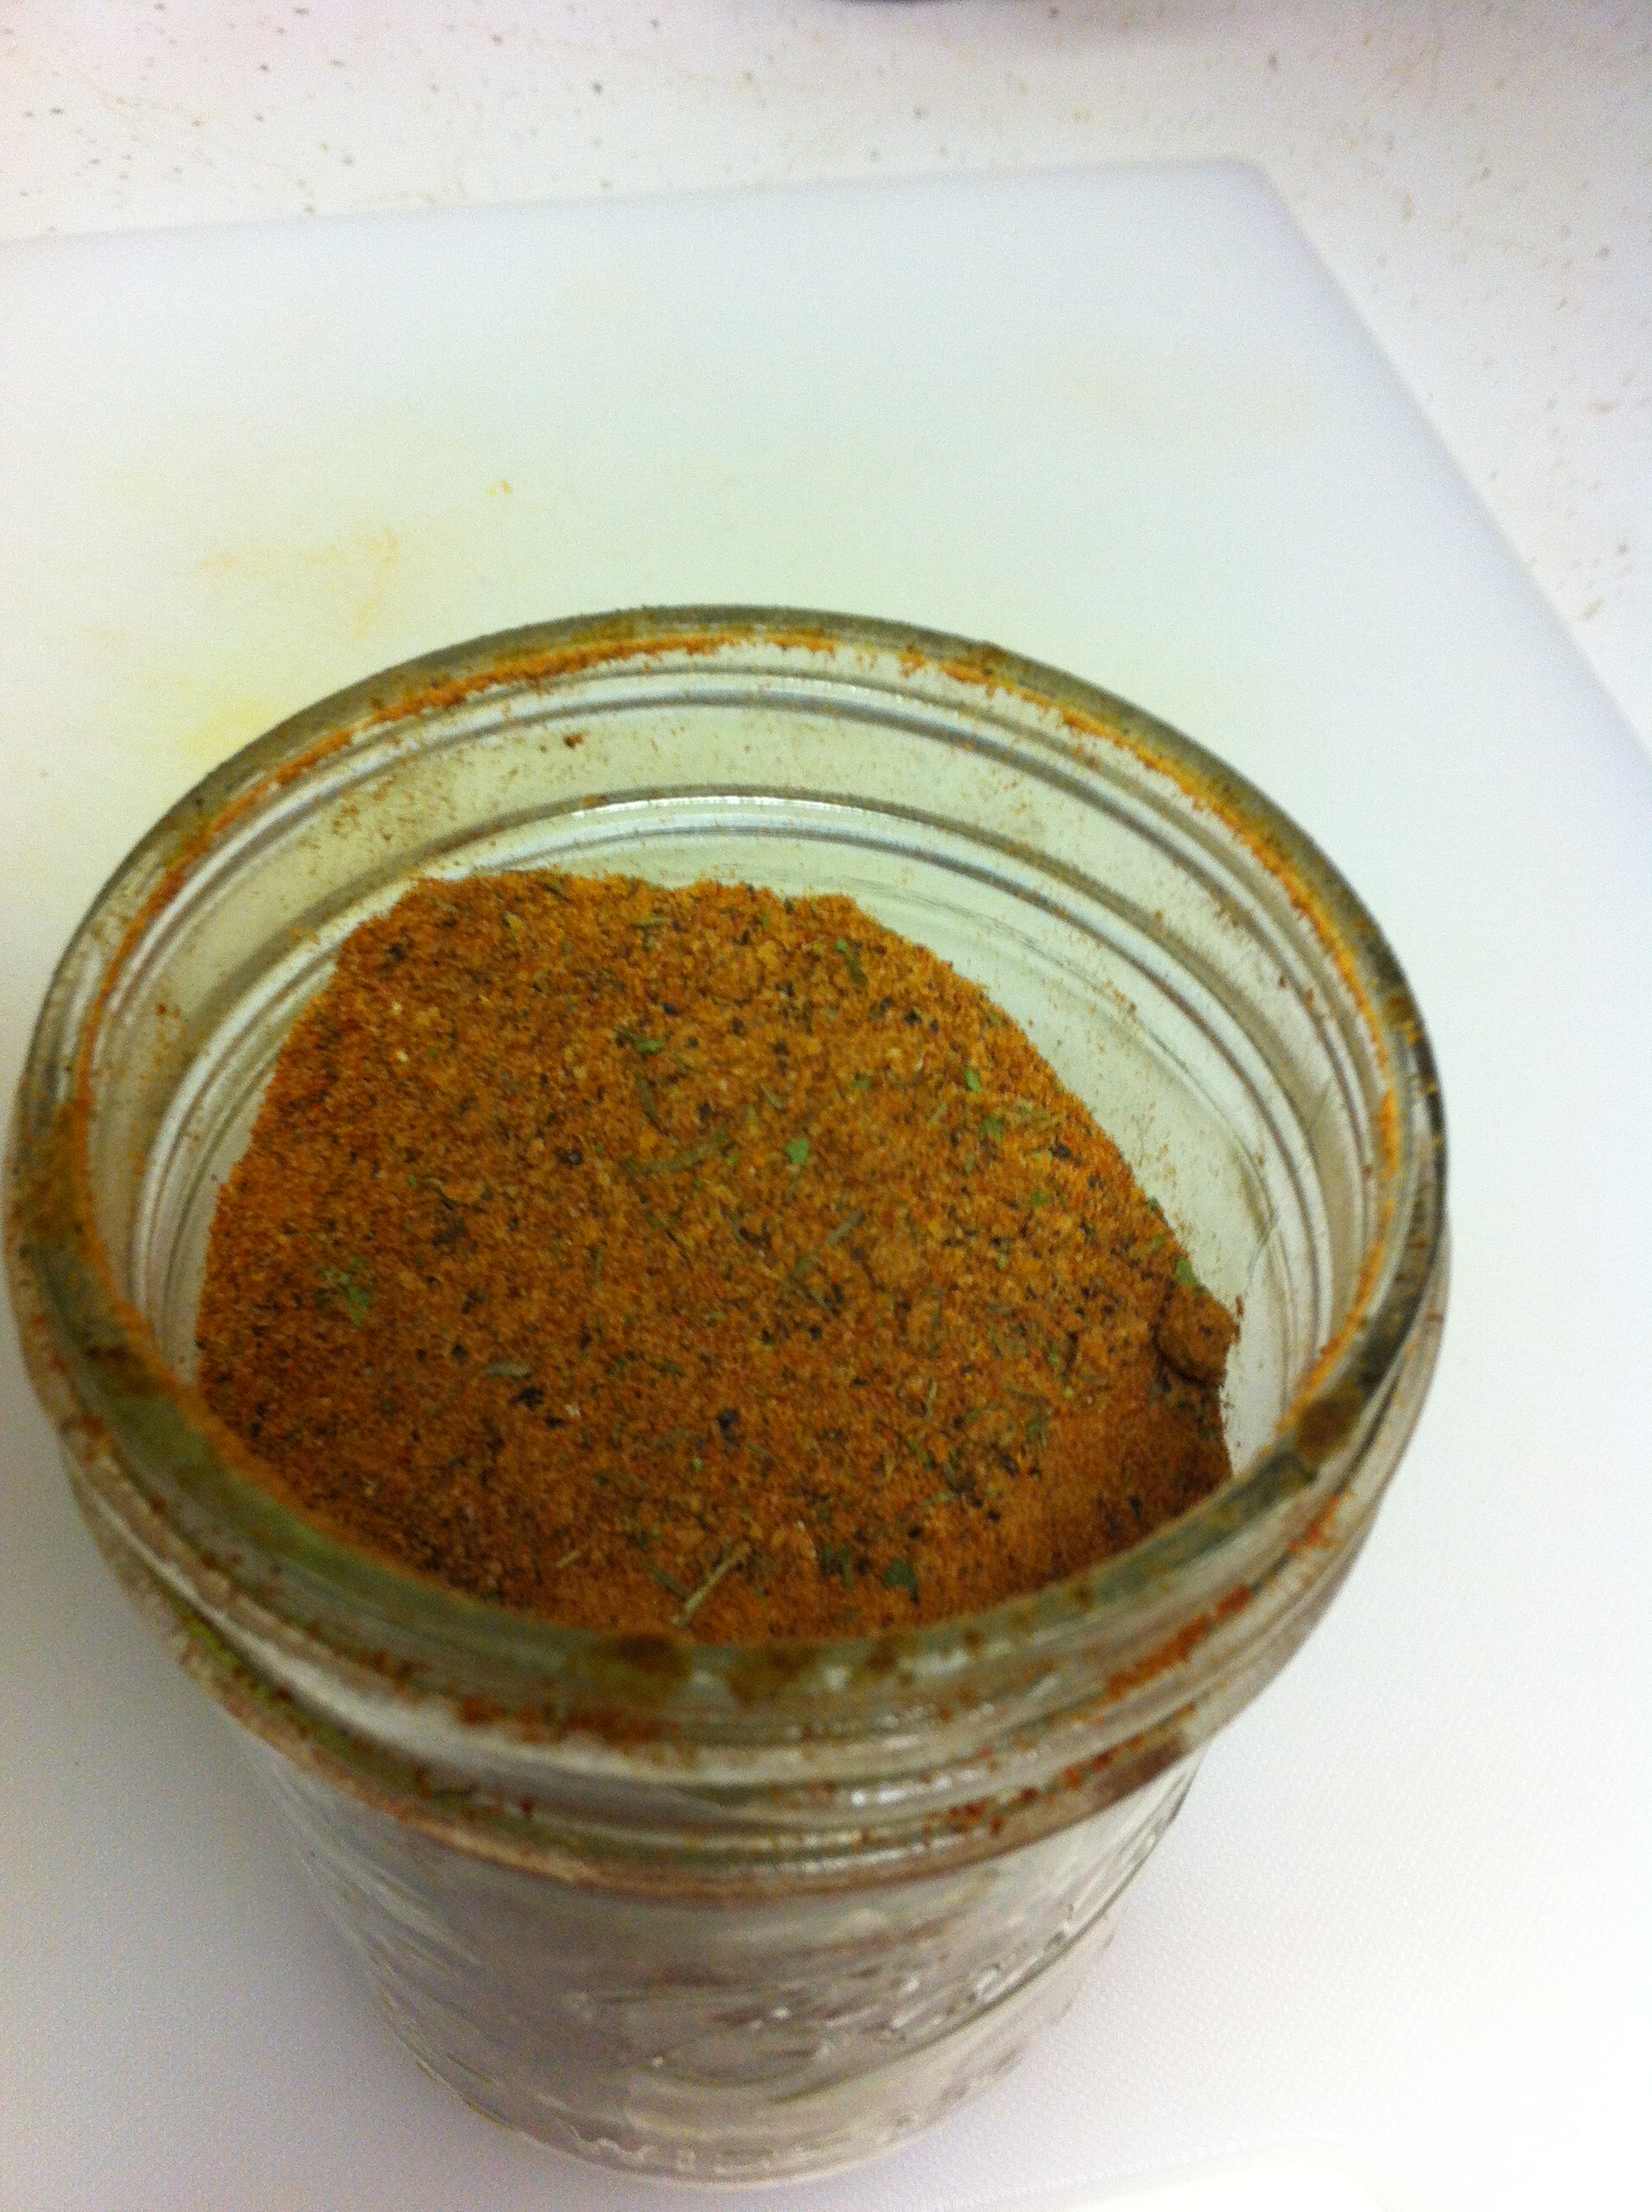
Rustic Rub
This is where my cooking always gets tricky. Gwen doesn’t eat meat. Dylan won’t eat beans. (And you thought Jack Sprat and his Wife had a rough time in the kitchen!) When I make dishes like this, I have to split the base and add ingredients in stages. Unless you have a vegetarian and a picky eater in your house like I do, you can just add the rest of the ingredients and simmer until it’s finished.
I took about 1/2 of the mix out of the big pan and put it into a smaller pan. Then I added 2 cups of water and the beans to the small pan and simmered it until it was cooked through and the liquid reduced.

Finished Veggie John!
Traditional Hoppin’ John calls for a ham bone to simmer for a while. I didn’t have one and I’ve been on a sausage kick so to the other pan I added a half pound of cooked, bulk sausage and 2 cups of homemade ham stock.

Simmer the meaty mix down until the sauce is thickened. Once the sauce was thick I scooped a serving out for Dylan and then added half the bean mixture back into the pot.

The finished Hoppin’ John ready to scoop onto rice!
In some homes, Hoppin’ John is a New Year’s tradition. I’ve never tried it before, and didn’t make it on New Year’s Day, but after trying this recipe, I might have to make it a tradition around here!
Oh, and those beans? I went back and bought the 30 cans they had left over.
Hoppin’ John
1 tablespoon-ish olive oil
1 onion, diced finely
2 carrots, rustic-chopped
2 ribs of celery, chopped
1/2 a large or one small bell pepper (I used yellow because that’s what I had)
1 Tablespoon minced garlic
a chopped fresh jalapeno, or chili powder to taste
1 quart canned, chopped tomatoes
2-3 Tablespoons rustic rub
1 can soybeans
1 quart stock or water
1/2 pound cooked sausage or ham
Add oil to a hot, large, heavy-bottomed pan. Add onion, celery, pepper and onion and saute until onions “sweat” and become translucent. Add garlic and saute for 3-5 minutes over medium heat stirring constantly. Add the jalapeno or chili powder and stir until blended. Add tomatoes and simmer until thickened. Add rustic rub to taste. Add sausage, beans and stock or water and simmer until thickened.
Serve over rice.
2013~ A Year in Review
2013 was a busy year. I didn’t blog much, but I did get a lot done.
I have a daughter that is now a senior in high school and a son that left elementary to move up to the big leagues of middle school. Hubby got (and rejected) two job offers. One was definitely not a better job. The other would have been a pay raise but would have caused a ridiculous amount of stress for Mr. Hippie. Mr. Hippie’s ulcerative colitis doesn’t do well with stress, so although I still pine for the extra income that would make our fiscal lives easier, I am grateful for his time with our family and for his health.
Will 2014 be The Year of My Blog? I don’t know the future, but I hear that the road to Hell is paved with good intentions. Regardless of what 2014 brings, I’m leaving 2013 with a bang!
The top posts always surprise me a little, but it helps me understand what people actually want to read! Apparently the movement toward healthier, greener cleaning hasn’t lost steam and people still love animals!
Coming in at number one:


Home to our breeding pair.

Freshly baked bread in five minutes?
Crusty Round Loaves of Homemade Bread


How I Made Homemade Soap (and Didn’t Screw it up)


Thanks for sticking around to hear what I had to say even when I didn’t have much to talk about!
Filed under green cleaning, Miscellaneous
Making the Most of What’s in the Fridge/Freezer~Sausage and White Bean Soup
In my last post I mentioned that I had gone back to planning dinner menus for the week. Planning the menu in advance saves me time and money. It also helps make sure that I don’t serve tacos twice a week. Which I would absolutely do if Mr. Hippie would let me get away with it. If I plan the menu on the weekend, or Mr. Hippie’s day off, we can get a bunch of prep done when we have more time.
This week’s menu looked like this:
- Saturday: Taco Salad
- Sunday: Sausage and White Bean Soup with cornbread
- Monday: Mac ‘n’ Cheese
- Tuesday: New Year’s! Potluck at a friend’s; we’re bringing dessert, so I’m off the hook for dinner.
- Wednesday: Pulled Pork Tacos
- Thursday: Hot Dogs and Tater Tots
- Friday: Brined Chicken with roasted potatoes and green beans
Saturday was cooking day! I started by soaking white beans. Next I pulled the ground beef for the taco salad, pork roast for the pork tacos and the whole chicken out of the freezer so that they could thaw. After that I started making my chicken stock.
While the stock simmered, I made a vat (two, 1 lb. boxes worth) of macaroni and cheese. I filled 6, pint containers with plain mac ‘n’ cheese and then stirred the last of our leftover Crock Pot ham into the pan and filled 3, pint containers with ham mac ‘n’ cheese. There are 6 pints of pasta in the fridge ready for tonight’s dinner and the leftover ham is cleared out of the fridge. Plus I have three extra containers of mac ‘n’ cheese in the freezer for lunches later.
Once the macaroni was packed up, I started the Sausage and White Bean soup.
I love this soup because it utilizes leftovers if you have them, or it can be made without leftovers if you just want soup.
Sausage and White Bean Soup
1 tablespoon-ish olive oil
1 onion, diced finely
2 carrots, rustic-chopped
3 ribs of celery, chopped
3-5 leftover bratwurst or polish sausage chopped into bite-sized chunks, or 1 lb. bulk sausage
one whole chipotle in adobo, a chopped fresh jalapeno, or chili powder to taste
1 quart canned, chopped tomatoes
6 cups chicken stock
3 cups soaked, cooked white beans (or canned white beans)~ I cook my beans while I’m prepping everything else.
 Add oil to a hot, large, heavy-bottomed pan.
Add onion and saute until onions “sweat” and become translucent.
Add carrots and celery and saute for 3-5 minutes over medium heat stirring constantly.
Add the chopped sausage or fresh bulk sausage. Cook until chopped sausage is heated through or bulk sausage is fully cooked.
Add chile and stir until well blended.
Add stock and tomatoes and simmer until soup reduces slightly and flavors have time to blend.
Add beans and cook until heated through.
At this point I jarred the soup up to serve the next day and started my taco salad, but you could serve the soup immediately if you preferred.
Stone Soup
I’ve always been cheap frugal, but my frugality ebbs and flows with my mood, our finances and the needs of my family. I don’t buy myself new clothes except for the occasional pair of tights, knee-highs or other derby wear. We’ve been driving the same used car for as long as I can remember. We buy in bulk and make our own as often as possible.We shop resale.
Despite my cheap ways, it seems like we never get ahead. Over the past 19 years, hubby and I have accrued debt. Mortgage debt, student debt and unfortunately, credit card debt. We’ve been working on paying things down, but life happens. Three years ago hubby got down-sized. He was unemployed for four months before he finally got a job cooking at the restaurant he left to work construction. The pay cut was significant. He’s had raises since, but he’s still not up to his construction salary and his hours fluctuate based on business. As a school teacher, I make a decent salary. My health insurance is very good and I get time off in the summer. This isn’t a rant about all the things teachers do in their “time off” or the current politics of education, so I’ll spare you the details, but my salary has been frozen for several years while the costs of my healthcare and retirement have gone up. I’m taking home less now than I was three years ago.
So, with costs rising and our salaries stagnant, what do we do?
I’m working on some extra sources of income but I don’t have enough time for a steady part-time job during the school-year. I’m trying to find ways to get paid to do what I love. Along with the required continuing education I have to take to maintain my teaching certification, I’ve started learning new computer skills so that I can try some technology jobs from home. My etsy site is going to have some new items soon including some hand-knit & crocheted baby hats. None of these things will make me wealthy, but maybe they can make ends meet.
In the meantime, it’s time to tighten the belts again. We’re turning the heat down some more and wearing more layers. I’ve gone back to planning a menu for the week so that we’re not frantic at dinner time buying something to cook. We’re eating out of the freezer instead of filling it. We have a deposit on a whole hog from Quartz Farm to save money on our meat and we’re still raising rabbits. We’re trying new recipes, and eating lots of soup. Homemade soup is a super cost-effective way to eat. I can use up all the leftovers in the fridge along with a low-cost grain like rice, barley or pasta and make a healthy, cost-effective meal for my family. Tonight we had white bean and sausage with a side of cornbread.
Have you ever heard the story of Stone Soup? It’s an old folk story in which hungry strangers persuade local people of a town to give them food. If you check most any soup recipe, you’ll find that it starts with stock. Homemade stock isn’t exactly like Stone Soup, but basically you start with nothing, add a bunch of stuff you were going to throw away anyway and cook it util it’s useful. Stock doesn’t cost that much, but at $2 a quart, it adds up. Especially if you’re having soup more than once or twice a week. If you’re making a gallon of soup a week, homemade stock can save you $4 or more a week. We’ve been making our own for years and we’re pretty efficient at it. Sometimes we make ham stock, but most often we make chicken stock. I keep a few old five-quart ice cream pails kicking around the cupboard for storage.  Whenever we cook chicken, we put the bones into a pail and keep them in the freezer until we get two-or three full pails. Usually, we cook whole chickens, and add the carcasses and all the drippings to the bucket but when we have chicken pieces, Mr. Hippie bones the chicken before it’s cooked and those bones go into the bucket as well. When I’m being really frugal, I save the ends of carrots, onions and celery in a freezer container too. Onion skins add a really nice color to your stocks.
 Homemade Stock
- 2-3 pails of chicken bones, saved in the freezer for as long as it takes you to collect that many bones.
- 2 carrots, or an equivalent volume of carrot ends and peels saved from whatever other carrot dishes you have prepared recently.
- The leafy parts of a head of celery along with any ends you want to trim off and throw in.
- An onion or the tops, bottoms and skins of several onions.
- Parsley stems or some fresh thyme if you have some handy.
Add all the bones and vegetable scraps to a large stock pot. Cover with water and bring to a boil. Reduce heat and simmer all day or overnight.
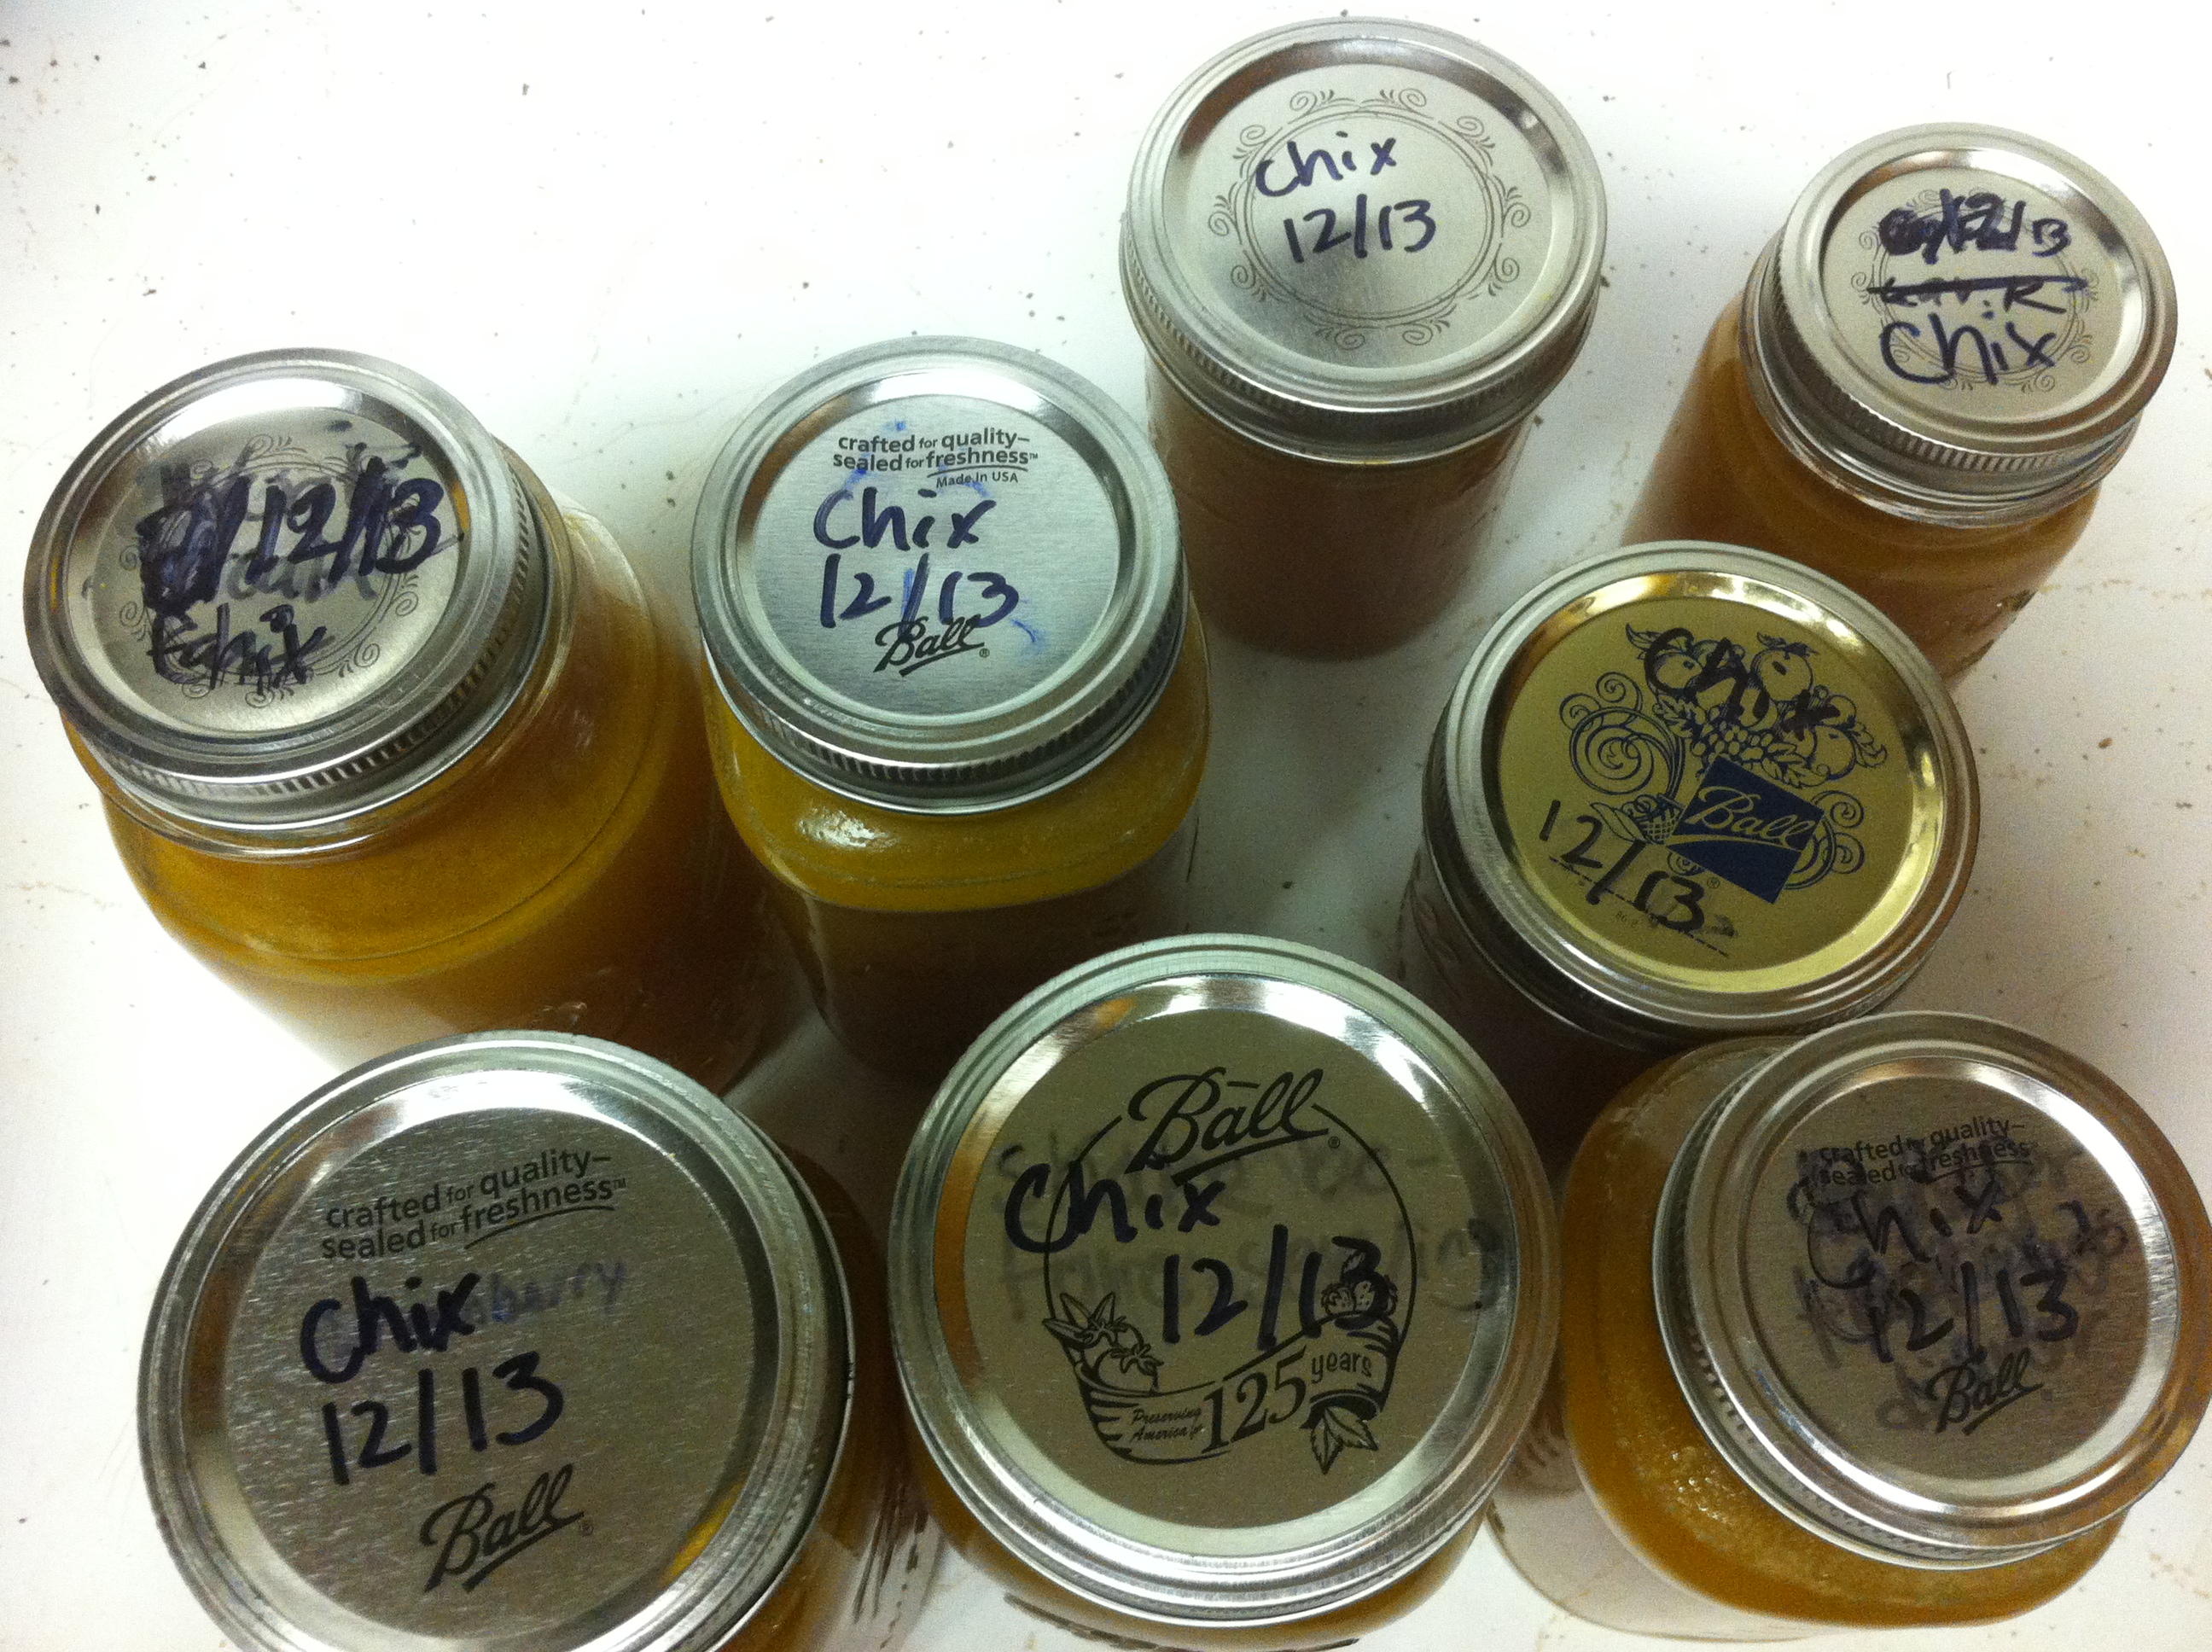
Finished Chicken Stock
Once the stock has a nice color and flavor, remove it from the heat and strain it into jars. Leave head-space so that the jars can be frozen until you are ready to make your own soup or gravy. Make sure to label and date the jars so you know what it is and which jars to use first.
Filed under frugality
On Children. And Writing.
When you first become a mother, you have goals and ideals for your children. You want them to grow up and become little, better versions of yourself. They will love the outdoors and math and reading, just like you do. They will choose organic food and green transportation instead of easy transportation, just like you do. At some point, you realize that this is all delusional. Despite your best efforts, your children are not you. While sometimes they will take on some of your characteristics, most of the time the traits they inherit are not the ones you hope to share.
My children are now eleven and sixteen. I gave up on John Locke and tabula rasa long ago. My children have not been filled with the ideas and knowledge I tried to pump into them. Despite my efforts to the contrary, for better or for worse, they have become their own people.
Sure, Gwen shares my love of reading and drawing. She is actually quite skilled as an artist. And, unlike me, she can draw people beautifully. I think I am actually going to commission her for some work in the near future. Other than our appearance, the similarities end there.
Dylan inherited my spelling skills. This is a good thing. Gwen’s inability to spell has always pained me. Frequently, Gwen will ask how to spell a word. Much to her chagrin, Dylan will speak up and tell her how it is spelled even though he his five years her junior.
Although Dylan can spell and has a good sense of grammar and sentence structure for a boy his age, the physical act of writing pains him. He draws no joy from writing. Despite my efforts to force him to love writing in the way that I do, he. Does. Not. Love. Writing. In fact, he loathes it. I know hat he despises it, but as a school teacher and his mother, I have always encouraged him to write anyway. This year, I actually made him start a blog. I thought that maybe typing his thoughts would be less painful than scribbling them on paper. While physically, typing is easier for him, the thought of writing, the process of writing still pains him. I know this because I read his first blog post.
He is angry. He will probably be angry every time I ask make him write. That is okay. I know that my children will hate me sometimes and that comes with the territory. Being a parent means that you try to do what is best for them. I know that writing is good for him. He will need to write for at least six more years of school and depending on the career he chooses will need at least basic writing skills for the rest of his life.
My son is kind and sweet. Generous and loving. He doesn’t want to disappoint anyone. That last part is problematic for me. He tries to keep the peace, but he doesn’t always exhibit his feelings. When he is hurt or angry he tries to hide his tears and disappointment. He tries to bury his feelings. This is not healthy. I know because this is one of those character traits that I hoped our children would not inherit.
My son will probably never love writing. He may not continue to blog after I stop making him. I am okay with that. However, I am hopeful that as much as he hates writing (and at the moment, me) he can learn to appreciate the catharsis that writing offers. Even if you don’t share it with the world or even its intended recipient, writing can purge all kinds of horrible feelings from your soul. His first post is angry and that is good. He couldn’t tell me how mad he was. He couldn’t even have me in the room while he wrote, but he wrote it. So even if he doesn’t love to write, maybe he can learn to use writing as a way to clear his own, emotional slate.
Filed under writing

